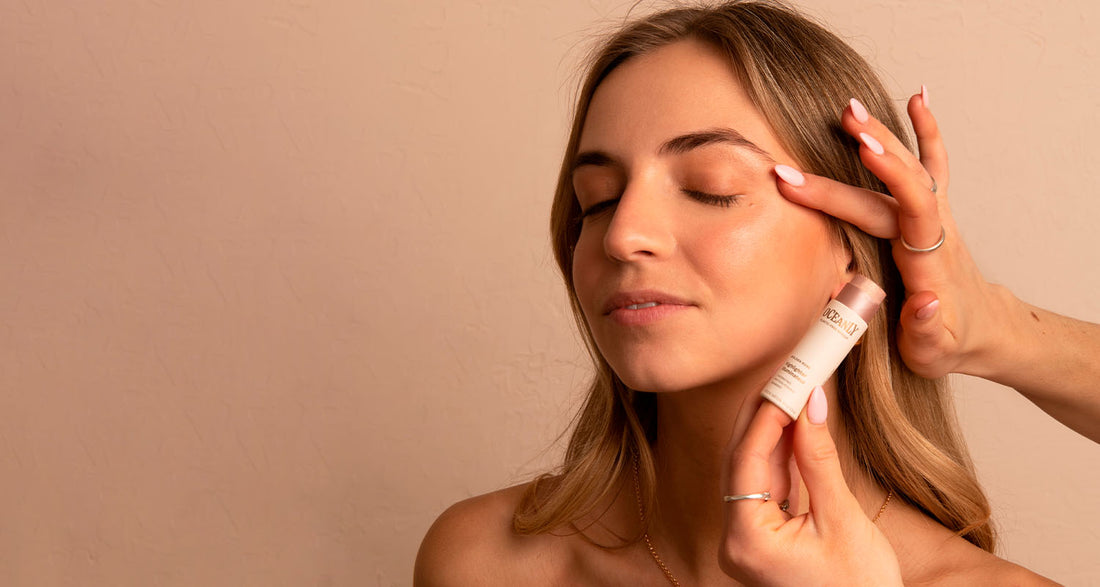
What makeup product should you start your routine with? Where should you put concealer? Should you apply it before or after foundation? What’s the difference between a bronzer and a highlighter?
If you don’t know what to do with the range of cosmetic products available, this makeup tutorial for beginners is made for you. Here are some simple steps to create a natural look with makeup that not only enhances your complexion but provides multiple skincare benefits.
What do you need?
In addition to the products listed below, you’ll need two essential accessories to complete your makeup ritual in this tutorial: A sponge and one or more makeup brushes. Make sure they're clean to avoid germ buildup.
Step 1 – Prepare your skin

Clean your skin with an oil-in-milk cleanser or gentle face cleanser made with hydrating phytoglycogen before you start applying your makeup. Your makeup might not hold as well or it could pill on dry areas if your skin isn’t well prepared.
Step 2 – Prime your skin

Does your skin tend to be oily, especially in the summer? Start your routine with a matifying cream The product’s arrowroot powder efficiently absorbs excess sebum and acts as a flawless primer. Apply it to your T-zone (forehead, nose and sides of nose) to avoid unwanted shine.
If you want to restore skin radiance, opt for the Phyto-Glow cream or serum made from phytoglycogen and encapsulated and stabilized vitamin C to give you an even and luminous skin tone.
Step 3 – Tinted oil or foundation

Now that your skin is ready, you can start the makeup tutorial for beginners. Start with the foundation or, for ultra-minimalist coverage, use tinted oil. To apply the stick foundation correctly, warm it up on your skin first so that its texture is creamier and easier to apply. Then spread it across the forehead, nose, cheeks and chin and blend with your fingertips, a brush or sponge to get the natural and unified finish you want.
Step 4 – Concealer

Immediately after tinted oil or foundation, apply the concealer under the eyes and on minor imperfections you want to cover up, like pimples, blemishes or blackheads. Under the eyes, trace an upside down triangle with a retractable stick concealer to brighten up your eyes. Avoid spreading or rubbing the product. Instead, lightly blend it with a brush to saturate the coverage area.
Step 5 – Bronzer
Bronzer creates a sun-kissed look and better defines facial features. Because we know that contouring can be intimidating to beginners, we’ve prepared a short contouring tutorial using the “3 technique”:
- Keep it simple and use a bronzer stick.
- Trace the number 3 from your temples down to the hollows of the cheeks and continue under the jawline.
- Complete this step by gently blending the product with your fingertips, a brush or makeup sponge.
Step 6 – Blush

The next makeup step for beginners uses a classic product: blush. With its creamy texture, blush adds a soft color to your look, creating a radiant glow. Apply it to the cheekbones and then smooth the color upwards with your fingertips. For a 3D effect, apply a lighter shade to your cheekbones and a darker shade to the apples of your cheeks.
Step 7 – Highlighter

Pigmentation: ✓
Color: ✓
Now let’s brighten things up. Invigorate your complexion by applying a highlighter to the high points of the face—the tops of the cheekbones, above the upper lip, the brow bone and the bridge of the nose. Feel free to reapply blush on the apples of your cheeks if you find that the highlighter has hidden your rosy glow.
Tip for a shimmering effect
To get an even stronger illuminated effect, mix your highlighter with your foundation and apply the blended product to the high points of your face!
Step 8 – Lip gloss

You’re already at the last makeup step for beginners! For natural makeup that’s easy to apply every day, swap out fire-engine red for lip gloss that has a subtle glow, without a sticky sensation. Not only does it subtly color the lips, but its balm-like texture is infused with hydrating phytoglycogen, vegan collagen and algae extract.
The perfect kit for easy makeup
Simplify your life (and save a few pennies) by picking up the On-The-Glow kit with a Happy Berry blush, Golden bronzer, Sunset Glow highlighter and Happy Berry lip gloss. These four beauty products blend easily and are perfect for all occasions.

What sets Oceanly apart from other products?
The new Oceanly™ line of makeup is reinventing beauty by offering clean, science-backed products available in FSC-certified biodegradable cardboard tubes.
Formulated with over 99%* natural origin ingredients with multiple skincare benefits, our vegan and EWG VERIFIED™ makeup sticks are good for your skin and the planet. Ideal for a glowy makeup look, they blend perfectly with all skin types thanks to their creamy and easy-to-apply texture.
*Except for highlighters
Did this makeup tutorial for beginners make you want to give it a try? You’ve got this! Discover how to create different trending makeup looks : sun-kissed, blush, glowy makeup and no makeup makeup look.
Unleash your creativity and have fun!
